Barbarosa wanted to be the second coming of Charlemagne. He almost succeeded. However, he, like many other rulers of his time, got swept up in the Crusades and ended up throwing his men away to fight a war that was fated to fail.
|
CONTENTS 1. The Holy Roman Emperor |
The Holy Roman Emperor
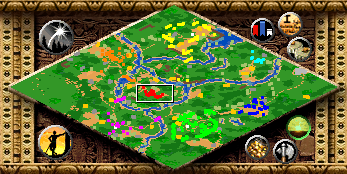
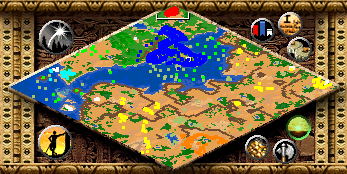
This is a very straightforward build-up then break things map. The only thing that you should do to simplify the map is to seal off the shallow parts of each river so the enemy won’t constantly harass you. The church in Swabia (orange) can be destroyed and its relic occupied immediately with your starting troops and catapult. Don’t bother attacking Saxony since they usually will not have a relic by the time you invade them. Instead, their relic will get moved to either Bohemia or Swabia. Also note that Bavaria (Green Teutons) has a fortified town.
You face six enemies by yourself, but you have some good advantages. First of all, the player’s territory contains quite enough resources, it is surrounded by rivers and there are few access points. You can wall these off and place archers on the other side first, then towers which you can upgrade at the university. Also, your enemies start in the Feudal Age with fewer resources.
Use your secure positions to build up and start producing siege equipment and a few monks for picking up the relics. It is possible to win this map by walling yourself off and slowly upgrading your troops and buildings. With a solid army and four or five trebuchets, you can easily conquer any town.
Henry the Lion:
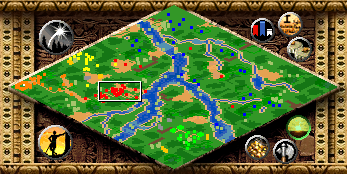
This scenario is very confusing unless you know exactly what to do. The bad news is that you have no villagers, and must rely on tributes to survive. Balderdash! We can fix that by attacking your ally, Henry the Lion (orange). No matter what you do, Henry will betray you anyway, so build up an army with your starting funds (including 2-3 rams) and pay his town a friendly visit. Position your rams near his castle, open the diplomacy window and turn him into an enemy! Ha!
And now for the secret to winning this map – did you notice the small walled relic in the western corner? It will now have peasants who will join you. Smash down the gates with your ram. Quickly return to your own town, where you should immediately construct a Town Center! Old Poland will send infantry, rams and catapults, but your remaining troops should be enough to repel them – if you can make it back in time.
Once you deal with Henry, protect your allies. You can build a wall and towers at the ford just north of Bavaria. Saxony has a Polish castle north of them before the ford. You should move your forces up to deal with this immediately after you finish off Henry and build a Town Center. The river crawling with galleys is another matter – build a tower or two to protect your shores (cheaper than building a fleet). After the Polish castle is gone, build up defenses at the fords (the one to the north and the smaller one near your home town) and then march on the rest of Poland – destroy its castles and siege workshops.
Pope and Antipope:
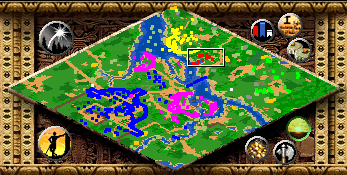
We start another map without villagers. The trick here is that you have four monks and a very weak neighbor, Crema. Order your entire army to stand ground. This will prevent any of your troops from accidentally attacking the villagers you need your monks to convert. At the same time, you cannot leave them behind because Crema does have an archery range and barracks and will produce units that attack you. Stealing one villager from Crema is enough to build your Town Center.
Crema (green) is located on the far eastern side, has no walls or towers and few troops. After you get your villagers and fight Crema a little bit, they will resign. Research Redemption at the monastery so you can convert Crema’s buildings rather than building your own. After that, this map becomes very straightforward. Build enough of a force to fight your way to the Cathedral, and then bring your monks in to convert it.
When building up, remember that the enemy will bring down war galleys on you constantly. You should build a few towers along the coast. Also, there are are no shallow openings along the river and the bridge is broken, so you should ferry some villagers along the river and build a military base on the other side. The best place for this is on the northern-most edge of the map.
Holding a beach head is the hardest part in this mission. Make sure to build a castle first, then walls, stables, towers and a town center (in case your villagers get killed). After your landing, the enemy will throw troops at you constantly. Protect the villagers with Elite Teutonic Knights and upgraded Cavaliers. When the area is secure, build a church and monks as well (for healing). Carefully advance to the south and bring down the walls with trebuchets. The northern parts are not as heavily fortified, but will be crawling with enemy soldiers.
The Lombard League:
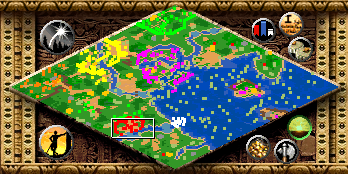
Again, the only thing special about this map is how it begins. You are about to lose your city, but have time to drop most of your forces onto transport ships. Order your ships to sail down the river. They will meet up with a large fleet of other ships, including transports with both villagers and military units on board. Send the entire fleet to the southeast corner and build your city there. It is easily defended and makes a very strong start point. Oh, and Henry is still a sleaze.
Barborassa’s March:
You have to invade Constantinople. The Saracen fleet is too large to try to sneak past, so you’ll have to fight your way through. On the way to the city, you will run into a Saracen ship and an abandoned house that is a Saracen ambush. Keep your trebuchets back until you clear them. Then move on into the city. You will be rejected and have to fight your way in. Use the trebuchets to take down the bombard towers as well as the rest of the primary defenses.
The extra income doesn’t hurt either Once you have control of the fleet, get it out into the open water immediately. If you leave it, its ships are easy prey for Saracen demolition ships. Move them into a position where they can guard the transports as the get as many units across the water as possible. Once they land on the other side, keep them close together as they move. There are quite a few Turkish forces waiting for them, including cannon.
There you have it. You have united kingdoms under your wise rule. You have conquered the world and made it safe for your people. Of course, you also died three of the four times doing it (sucks to be a great leader).
")
")
")
Leave a Comment